Veeam has recently announced “Veeam Endpoint Backup Free” to our portfolio of products, I am excited to share with you what Veeam Endpoint Backup is and what it is not. The release of this product is our showcase of our exciting innovation we drive at Veeam. Ok so what does this mean to virtualisation practitioners, home users etc? Let’s start with what it is.
What it is
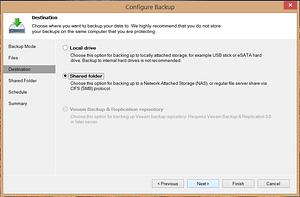
Veeam Endpoint Backup Free is a standalone product designed to allow users to back up Windows-based desktops and laptops, because while we believe that the modern data center should be virtual, we recognize that some devices – like desktops and laptops – only exist in a physical form factor. With this new product we will now make it possible for users to back up these types of devices. With Veeam Endpoint Backup FREE, you can easily back up your machine to an external hard drive, NAS share or a Veeam backup repository. And if you ever need to get your data back, there are multiple easy recovery options available.
What it is not
Veeam Endpoint Backup Free is designed to back up Windows-based desktops and laptops – it is NOT an enterprise physical backup server solution. It represents a new market for Veeam, and one that we are very excited about.
Best of all, Veeam Endpoint Backup Free is (if you haven’t caught on already) 100% FREE!
Where can I get it?
Please visit http://go.veeam.com/endpoint to request a download link, you should get a response in a couple of days.
How simple is it?
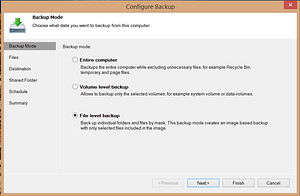
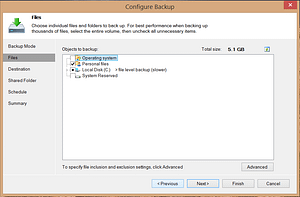
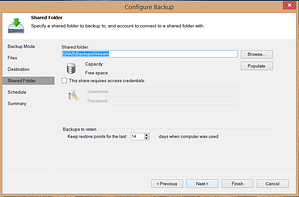
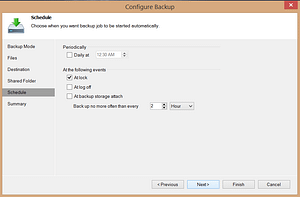
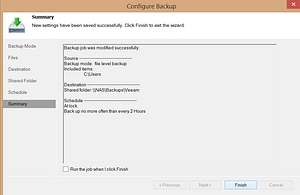
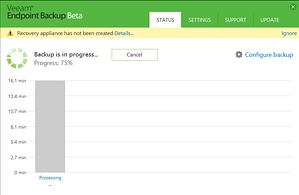
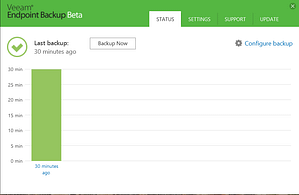
I recently installed Veeam Endpoint Backup onto a VM and configured it to backup to my home NAS, here was the process. First thing we do is Click Configure Backup, this launches the wizard which will take you through the various steps of configuration, the first step is to click the “Configure Backup” link in the top right of the application – this will launch the trusty old wizard interface which all Windows kids adore. The following modes are available:
Entire Computer – Backup all volumes presented to the local computer, this does not include Samba shares.
Volume Level Backup – Backup a selection of volumes (Think C:, D: etc)
File Level Backup – Backup a sub-selection of folders and/or files within a volume.
Please feel free to get in touch with me if you have any questions, in addition there are the Veeam Endpoint forums where other users will be posting questions and solutions to any queries they may have.
Go Veeam!

